You *need* this simple seared salmon in your life.
Perfection. every. single. time.
Hi there,
Seems like a good day for a super simple recipe, doesn’t it? I’ve had this seared salmon method in my back pocket for years now and come back to it whenever I have a what’s for dinner moment, which believe it or not, happens quite regularly over here at Fresh Erica HQ.
But before we get into the recipe, let’s address a little salmon debate…
While most seared salmon recipes I see floating around on the web call for searing the salmon skin side down, this one breaks the mold and leaves you with a sear on the flesh—which is just chef-y speak for the orange—side. This is my preference for a number of reasons. Chief among them is that even when the salmon skin is perfectly crisp, many people still remove it, letting all that amazing texture go to waste. Here, I call for removing the skin (which isn’t seared) after the salmon is cooked. At this point, if you’re not a fan of skin no matter what texture it is, you can discard it. But if you love crispy salmon skin, you can always cook it up separately over medium heat in a pan for a couple minutes and have the best of both worlds. Also, if you plan to store your salmon for meal prep purposes, I find that when stored, crispy skin soggs out almost immediately, but seared flesh retains a bit of its crisp even after a day-or-two in the fridge. Finally, searing the salmon this way yields an absolutely stunning visual result (see above), sure to wow any dinner companion. Alright, I think I’ve made my point so…
Here’s how:
All you need is salmon (about one pound cut into two or three even fillets), sea salt, a couple tablespoons of neutral oil (like avocado, canola, or vegetable), a cast iron skillet, a stove, and an oven.
Preheat your oven to 350°F. Sprinkle the flesh side (as a reminder, this is the orange side, not the side with scales) of the salmon liberally with salt.
Once the oven is preheated, heat your pan over high heat on the stove. When the pan is hot, add the oil to it, then immediately add your seasoned salmon, flesh side down and set a timer for 4 minutes. Do not disturb your salmon throughout the cooking time. I know it’s tempting, but leaving it alone is key to getting that good, crispy sear.
After 4 minutes on the stove at high heat, carefully transfer the pan to the oven and bake for an additional 5-7 minutes. 5 minutes will yield a perfect medium-rare interior (my preference), 6 gets you to medium, and 7 will be well done. Again, no need to poke/prod/move your salmon on the pan at all! I know you want to, but again, resist temptation.
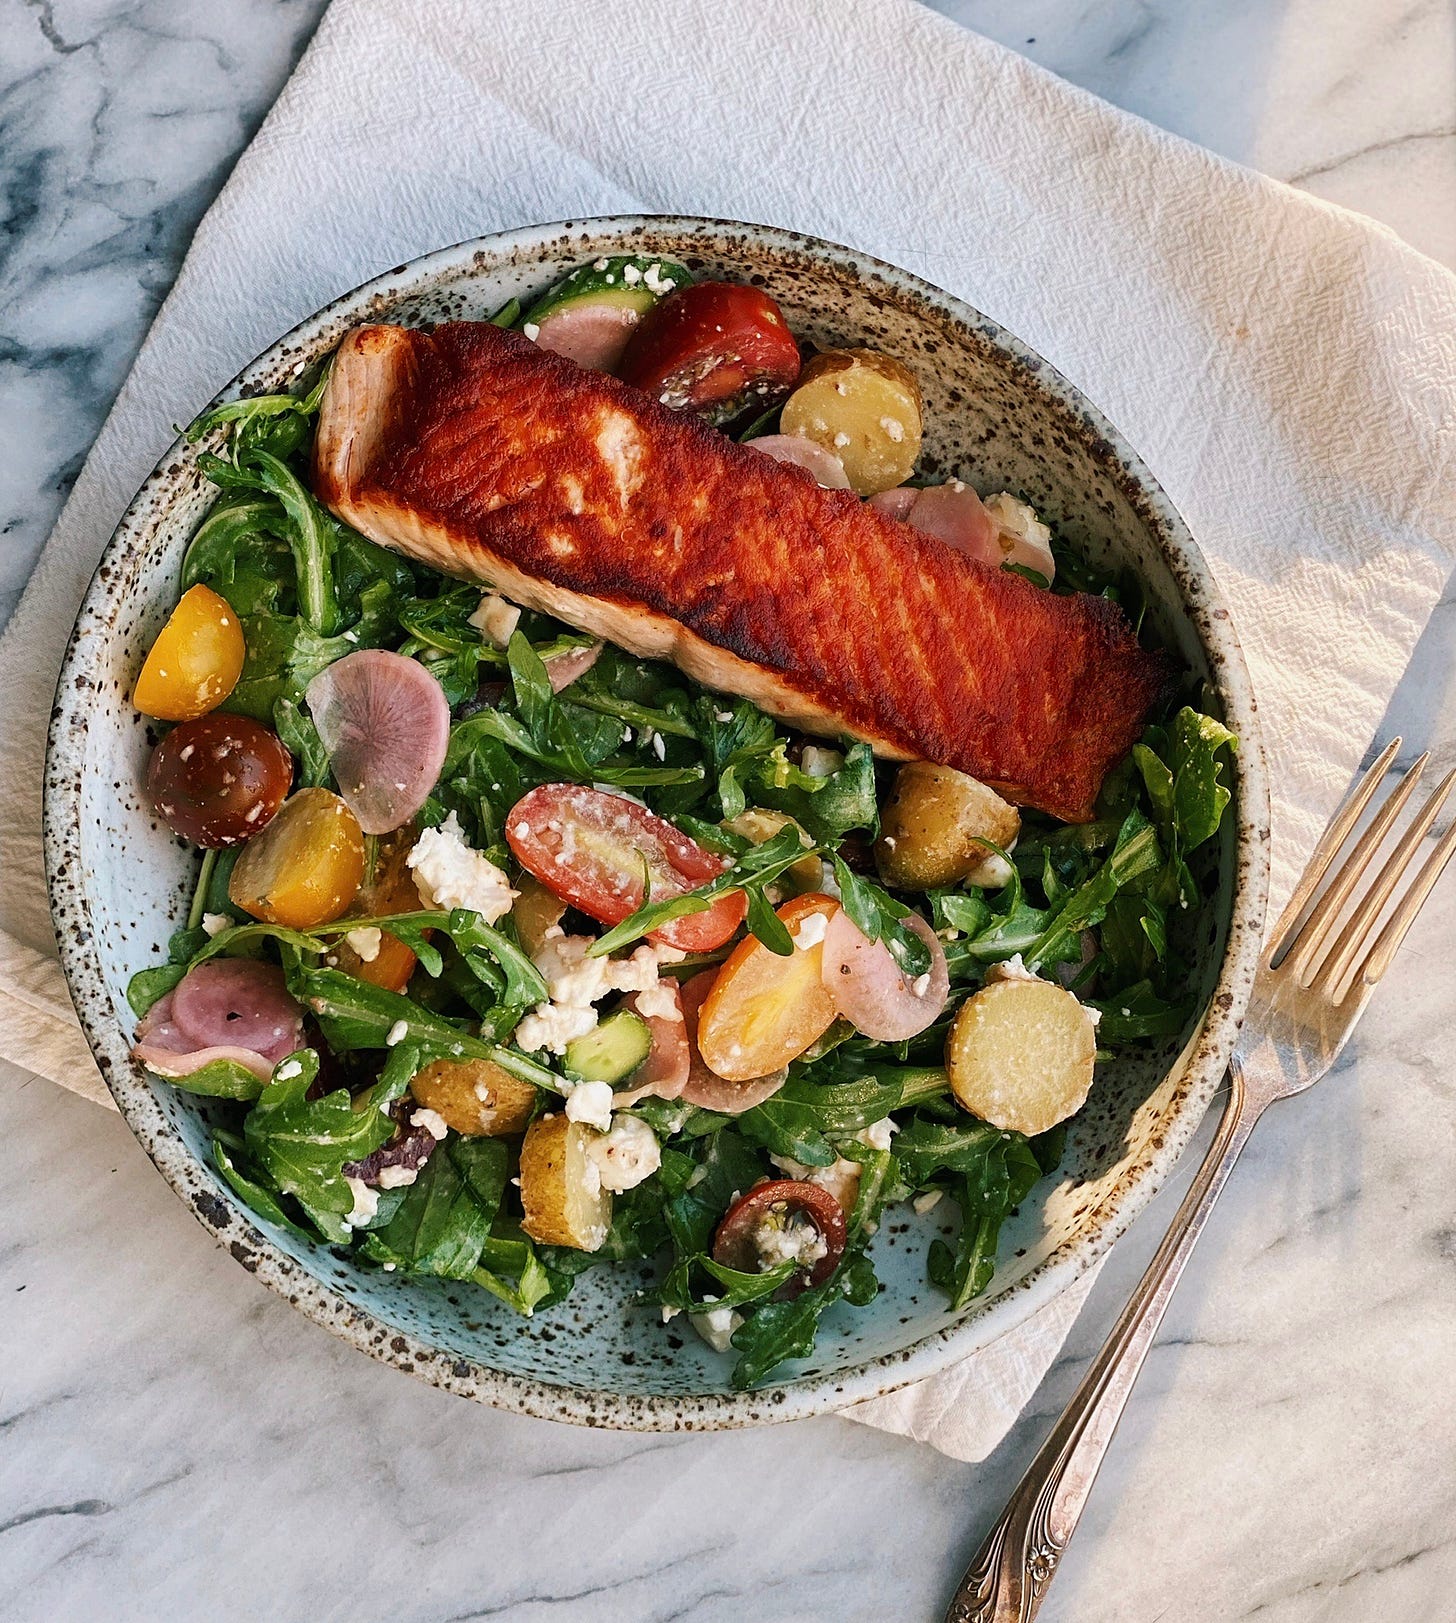
Now you’re finally allowed to move the salmon! Remove it from the oven and use a spatula to transfer it to a plate, flesh side up. This is when you can marvel at the dark orange, outrageously crispy sear you’ve created with just about 10 minutes of patience.
Use your fingers to remove the skin—it will come off very easily—and serve the salmon along with side or sides of your choice.

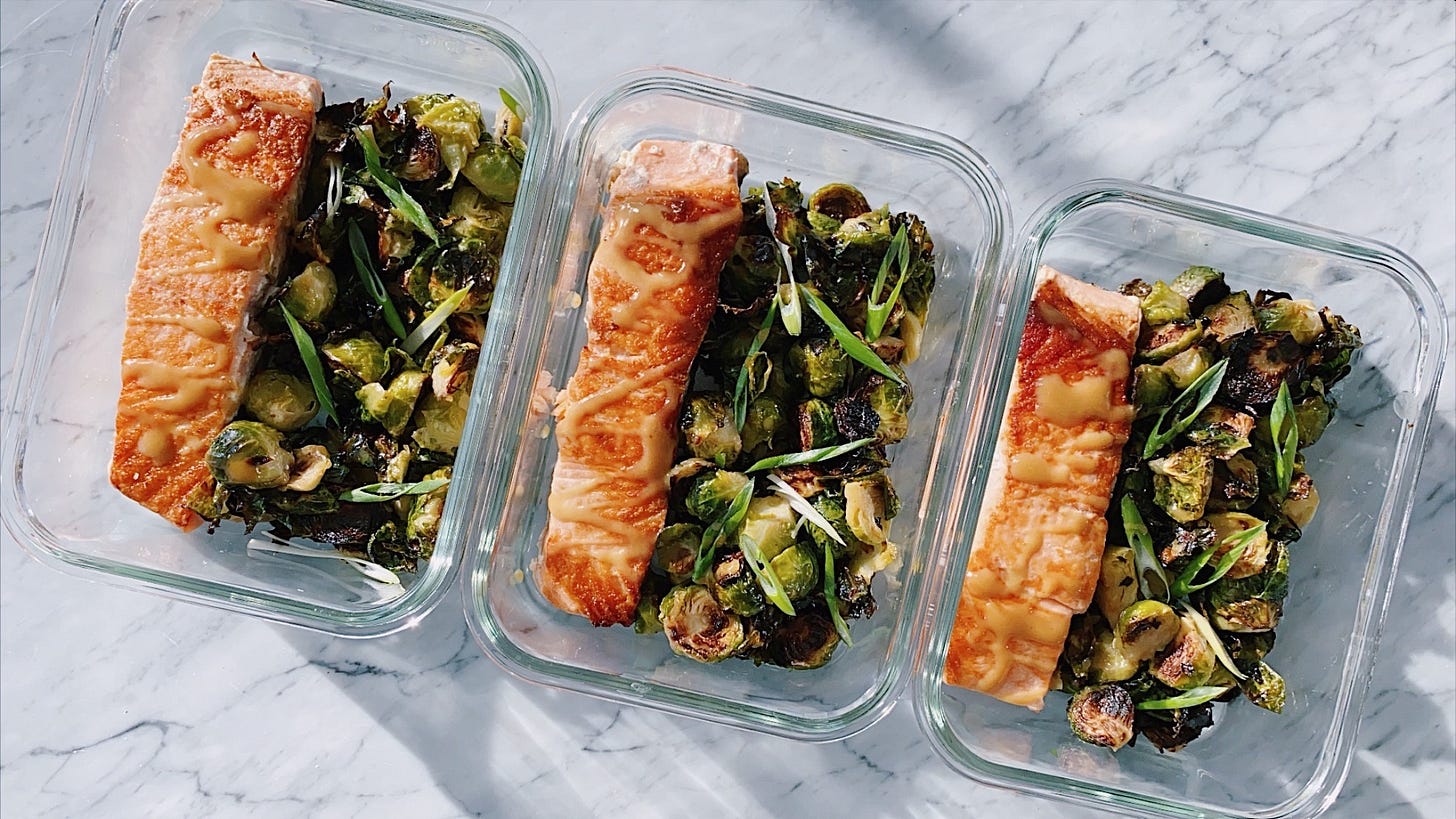
In The Beginner’s Guide to Meal Prep, I top the seared salmon with a simple maple mustard glaze.
Last night, we enjoyed our salmon over a simple arugula salad. I also love it paired with puréed sweet potatoes and a little side salad, with the honeyed tahini roasted brussels sprouts from The Beginner’s Guide to Meal Prep, or next day, mixed into a bit of fried rice. You get the idea, the possibilities are, as they say, very endless.
Okay, I think that covers it from me this week. If you end up making this salmon I’d love to see what you serve it with—tag me in your photos on Instagram at @fresh.erica!
With love and a *tip* of my chef’s hat,
Erica
Want more? I’m so flattered! You can also follow me on Instagram or check out my blog where you can find my tips-laden e-book collection.


